Week 18: Project development
The assignment:
This week's assignment is to complete my final project tracking progress.
To track the progress of my finale project I will shortly mention one initial idea that I worked on in the first weeks, but chose not to persue. The background for that idea was that at my University we are interested in expanding an existing makerspace with some kind of bio-lab. Therefore I was thinking of making a project that I can use to show some of the possibilities of a bio-lab when I get back. I also wanted to find out what inventory is needed to set up a bio-lab.
We have already made some experiments back home e.g. making bio-plastic and bio-leather for textile design. We have used the recipies from https://materiom.org/
Other experiments have been based on Arduino + gardening, like https://www.instructables.com/Garduino-Gardening-Arduino/And other more generel experiments have been about upcycling and regrowing things
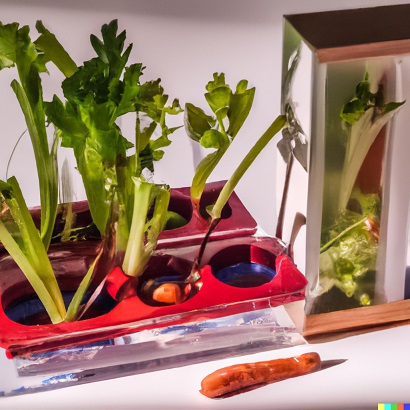
Created with DALL·E
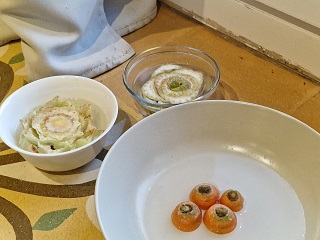
Spiral: Re-growing: Regrowing vegetables (carrots, leafcelery, salat) – I have taken some leftovers that I would normally through away, put them in water and now I am waiting to see how they start tp sprout.
So maybe a possible project could be a "re-grow station", that comes as educational kit for students and educators to assememble
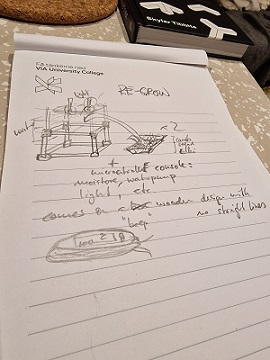
Change of plans
But in the end the idea didn’t feel right so I changed direction to another idea. The new idea was to make a device that measures parameters like moist, noise, CO2, temperature, light, smoke etc. and gives a feedback (light, sound. movement etc) to people nearby, so they can do something about it. I can see my project in private homes (bathrooms/ bedrooms) and also in offices, schools etc.A more personal perspective is that I would like to see a locally developed Air Quality Indicator hanging in all 10 makerspaces at my University.(also see "about me" page"). It might also log and share the data in order to take good decisions across our Campuses........It should also have a nice design that visualizes what´s going on and that tells a story
I presented my idea at the review 16/2 – 2024 and got some very useful feedback. I have now adjusted my projectidea to start with 1 parameter, e.g. air humidity, and to start visualizing the item to fabricate. At this point I have to decide which parameter to measure and which animal I want to use for visualization. I imagine the machine will be hanging on the wall. If things work out with a working prototype I can expand with further parameters and visualizations. Maybe even adding a datalogger and uploading some of the data to citizen science projects e.g. smartcitizen.me or others.
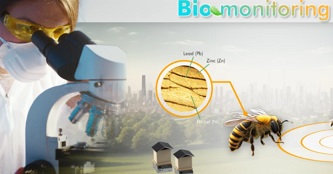
Inspiration
I find inspiration in cases where animals have been used to alert people when conditions get harmful/dangerous, - like canaries in mines to detect gasses, honeybees to detect pollution, frogs as weatherstations, elephants to detect potential earthquakes etc.

Old stuff and reflections along the way
As mentioned earlier I imaginge the AQI to be hanging on walls or be placed on desks e.g in classrooms, offices, homes and the like.
This is a first iteration on a lasercut design of a bee for visualization:
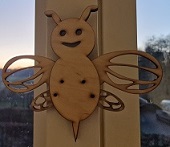
LINK to design file of the bee
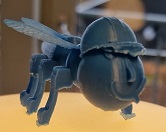
This is how it looks when 3D printed
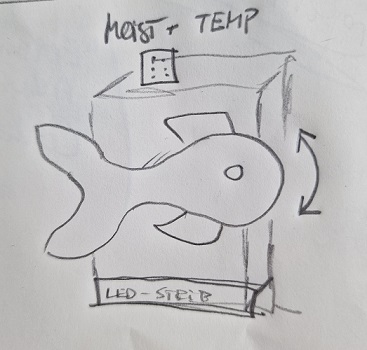
A sketch of the idea and a first prototype
The basic idea is that a moisture and temperature sensor activates an actuator (servo or motor) that makes a model/something visual like e.g. a fish move.
 |
|
There are 2 main categories in this project.
About the electronics and the packaging of it
The PCB has a moisture and temperature sensor buildt in and is prepared with connectivity for e.g servo, lightstrip and I2C.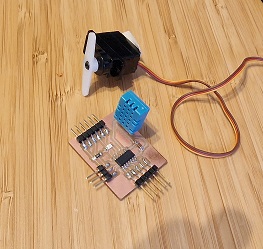
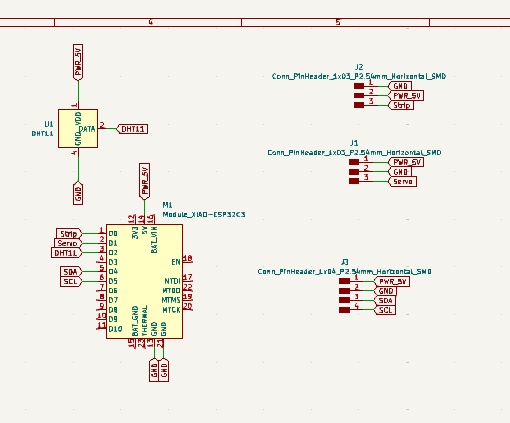
PCB - Schematics of the development board where you can see the components:
As packaging I am thinking of a 3D printed box that can be attached on e.g. wall. At the moment (beginning af May) I am figuring out if I can take the PCB file from KiCad and import it into Fusion and then design a box around it.
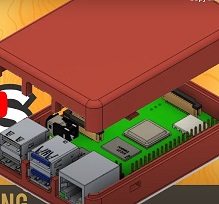
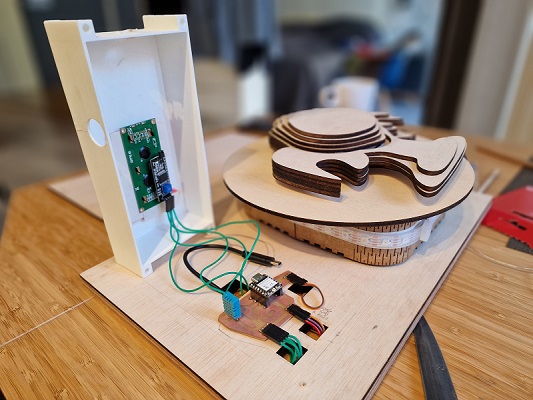
In the end I made a simple 3D printed box in fusion 360:
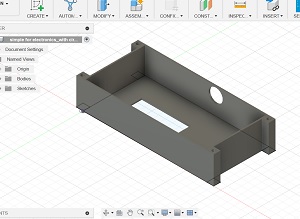
Furthermore the packaging consists of a box for the servo and a base to mount everything on. I designed the box for the servo in Inkscape:
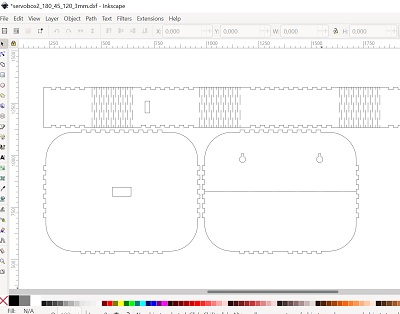
And cut it from a piece of 3 mm MDF:
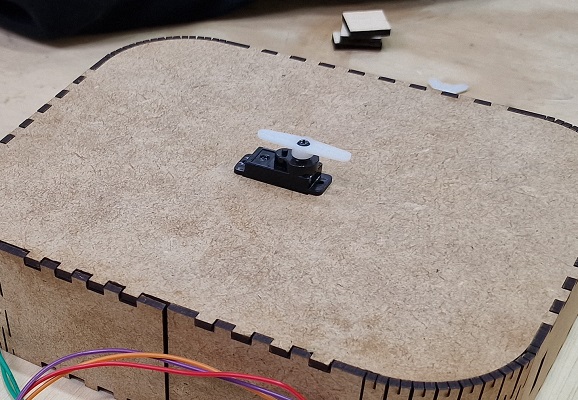
The base and the circle were cut from 3mm plywood. I designed the in Inkscape too:
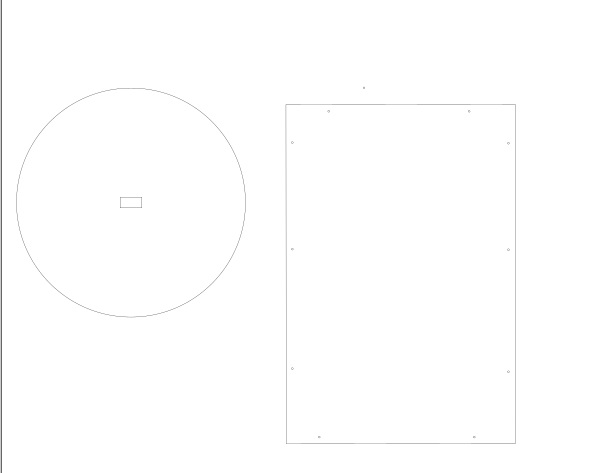
I added the holes for the wiring later
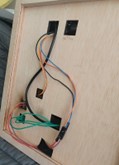
Here you see all the parts laid out just before final assembly.
About the design and manufacturing of the visualization.:
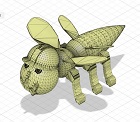
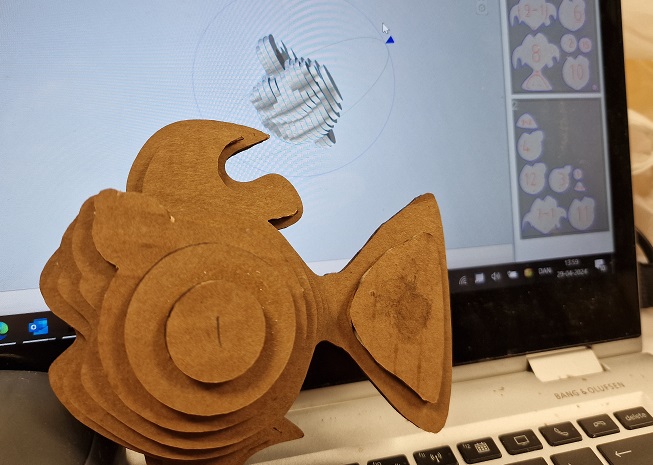
As a visual I want to design a fish in fusion. At the moment a protype of the fusion design looks like this: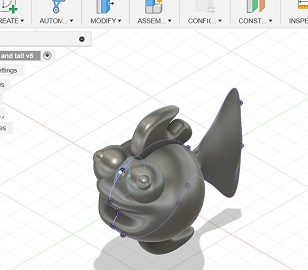
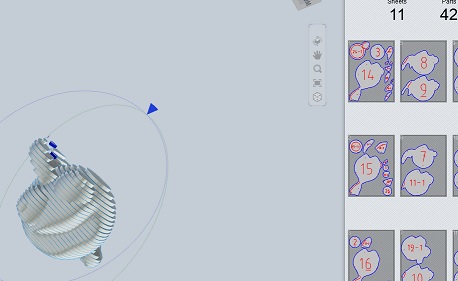
See more about the development of the fish on the page for week 17 and how I finalized the process that I have descibred here on this page. You will also find an explanation of the Code in week 17.
See the final prototype on my final project page. Here you will also find all the files used to produce this prototype